Phalaenopsis Orchids: What the Roots Tell You
Understand moth orchid roots, bark, drainage, light, watering, and the quieter growth that follows a flowering display.
Updated
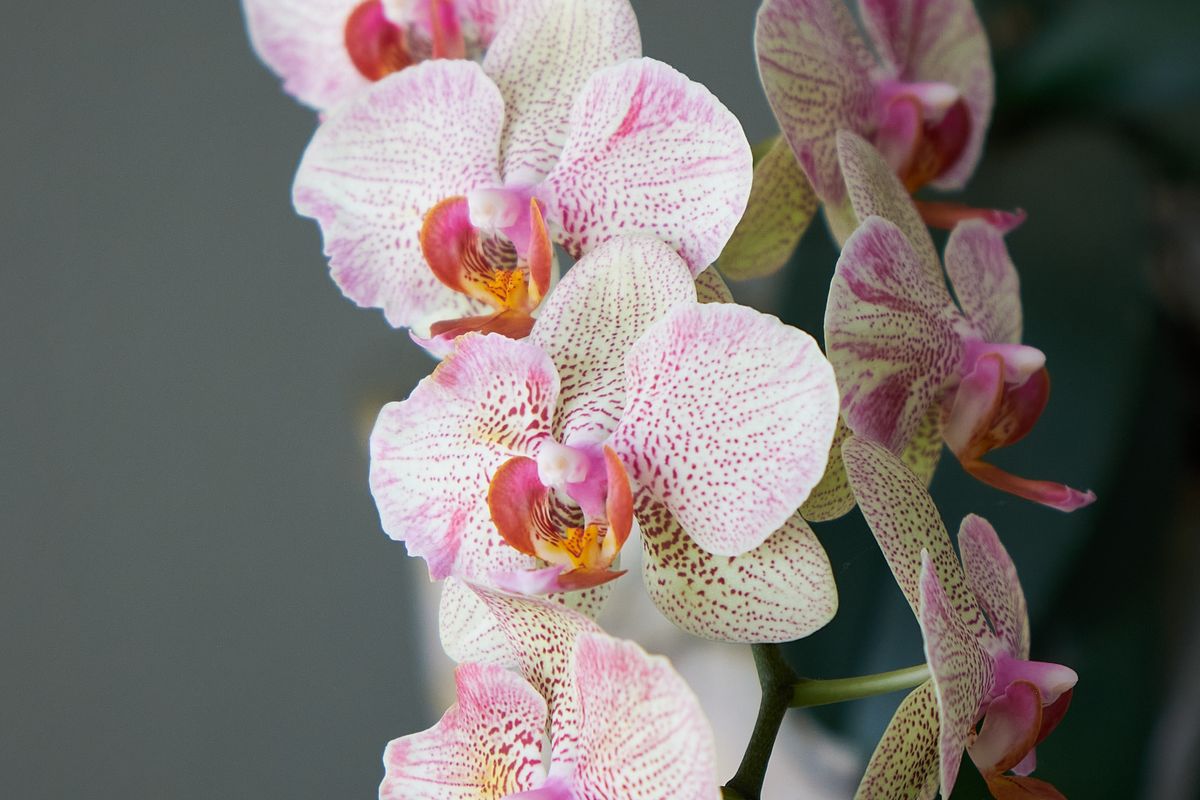
Water thoroughly when the bark has dried sufficiently, then let all excess drain. Keep water from sitting in the crown between the leaves.
Start by recognizing what kind of plant it is
The common moth orchid is usually a Phalaenopsis hybrid, often sold flowering in a clear inner pot inside a decorative outer container. Many are grown in a coarse bark-based medium rather than ordinary houseplant compost. Their roots need air as well as moisture, and the pot arrangement matters as much as the flowers. Do not assume that a glossy leaf means the root environment is healthy. Begin by checking the plant's identity, the drainage, and what is inside the outer pot. Keep the nursery label where possible. An orchid bought as a gift may arrive wrapped or staged for presentation, so unpack it carefully and make sure the display arrangement does not prevent water from draining or hide a standing reservoir around the inner pot.
Find bright light without scorching leaves
A bright position with protection from harsh direct sun generally suits common indoor Phalaenopsis hybrids, but actual exposure varies with window direction, season, glazing, and climate. A place that is gentle in winter can become intense in summer. Watch the leaves and the light across the day rather than relying on a compass label alone. Keep the plant away from cold glass and abrupt drafts, and avoid hot air from heaters. If the only suitable window receives strong sun, an appropriate sheer covering or a slightly different position may help. Do not move the orchid repeatedly between very different conditions in pursuit of an ideal appearance. A stable suitable place lets you understand how quickly the medium dries and how the plant responds.
Read the pot, roots, and medium together
Clear pots can make root inspection easier, but root color alone is not a complete watering instruction. Roots near the wall may differ from those in the center, and decorative lighting can alter their appearance. Look at the medium's moisture, the pot's weight, and the general root condition together. Healthy roots are normally firm rather than soft and collapsing, although appearance varies with moisture and age. Do not pull the plant out every week to inspect it. Repeated disturbance can damage growing tips. If the medium is tightly packed, badly broken down, or persistently wet, investigate whether repotting is needed. An airy-looking top layer does not guarantee that the center around the roots is in the same condition.
Water thoroughly, then let excess escape
Watering should moisten the root medium appropriately and be followed by complete drainage. The interval depends on temperature, light, humidity, pot size, medium, and root condition, so a fixed weekly command can be misleading. Remove the growing pot from its decorative sleeve if necessary to ensure drainage. Avoid leaving water trapped around the inner pot. Keep water from sitting in the crown and leaf joints, especially under cool or poorly ventilated conditions. If the plant is watered by soaking, use clean water and appropriate practice rather than sharing a stagnant bath among plants. Do not use ice as a substitute for learning the orchid's moisture needs. Check the root environment and adjust the routine to the actual plant and room.
Provide warmth and sensible air movement
Common moth orchids are usually kept as warm indoor plants rather than exposed to cold outdoor nights. Follow reliable guidance for the hybrid and avoid sudden temperature changes. A windowsill can be colder than the room, especially beside single glazing, while a closed sunny enclosure may overheat. Moderate air movement can help prevent persistently damp surfaces, but a strong cold draft is different from gentle ventilation. Keep the orchid where you can inspect it without placing it directly over a radiator or beside an air-conditioning outlet. A thermometer near the plant can reveal conditions that the room thermostat misses. If growth stalls, assess the actual microclimate rather than assuming that the average household temperature describes the leaves and roots throughout the day.
Do not mistake humidity gadgets for root care
A tray, humidifier, or grouping of plants cannot correct a pot that remains waterlogged. Consider humidity separately from watering. If the room is particularly dry, an appropriately maintained humidifier may help the wider environment, but it requires cleaning and sensible placement. Avoid continually misting flowers or leaving water collected in the crown. Small decorative trays should not leave the pot standing in water. Air circulation and temperature influence how moisture behaves, so a single gadget is not a universal solution. Look for a manageable balance in the actual room. The most important initial checks remain light, drainage, medium condition, and a watering routine that provides moisture without excluding air from the roots for long periods.
Feed carefully during active growth
Use a suitable orchid fertilizer according to reliable product and cultivation guidance. More concentrated feeding is not a shortcut to another flower spike and can damage roots or contribute to salt buildup. Check whether the plant is actively growing and whether the medium needs attention before adding products. Follow instructions for dilution and application, and periodically assess the overall watering routine. Avoid mixing several supplements because each promises a different benefit. Keep a note of what was used so that a problem can be discussed accurately. A plant with declining roots needs its conditions investigated rather than simply more fertilizer. Nutrition supports healthy growth in a suitable environment; it does not replace adequate light, oxygen around roots, or a stable place to grow.
Repot for a reason, using the right material
Repotting may be needed when bark has decomposed, the root environment is unsuitable, or the plant has outgrown an appropriate container. Choose a suitable orchid medium and a pot with good drainage, usually only as large as needed for the roots. A much larger pot can stay wet too long. Prepare clean tools and handle roots gently. Remove clearly dead or decayed material using sound orchid guidance, but do not cut every aerial root simply because it sits outside the pot. Firm living roots are useful parts of the plant. Keep the crown at an appropriate level rather than burying it. If unsure which roots are viable, consult an experienced orchid grower with clear images before making extensive cuts.
Handle flower spikes without forcing them
A new spike and a new root can look similar at an early stage, so allow growth to become clear before attaching it to a support. Guide a flexible spike gently and use a suitable clip that does not crush it. Do not bend an older rigid spike sharply to match a decorative arc. Buds can be sensitive to abrupt environmental changes, and a newly purchased orchid may lose some buds during adjustment. Check drafts, temperature, watering, and handling before assuming an infectious problem. Keep ripe fruit and other potential environmental influences in mind where relevant, but do not chase a single explanation without context. The support is there to prevent accidental damage and make the display manageable, not to impose an unnatural shape at any cost.
After flowering, prioritize the plant
A faded spike can be managed in different ways depending on whether it remains green, the plant's strength, and the desired approach. A healthy plant may produce a side branch from a green spike, while removing the spent spike near its base can direct attention to vegetative growth. Follow suitable hybrid guidance and use a clean tool. Do not repeatedly demand flowers from an orchid with weak roots or declining leaves. New leaf and root growth are worthwhile signs of recovery and development. Keep ordinary care consistent after the display ends. Discarding the plant or radically changing its conditions as soon as petals fall overlooks the continuing growth cycle that makes future flowering possible.
Investigate problems through their sequence
One older leaf gradually yellowing is different from several leaves suddenly collapsing. Record which part changed first, recent watering, the medium's condition, and any move between environments. Check roots and drainage before adding a treatment. Isolate a newly acquired or suspect plant as appropriate to reduce the chance of spreading pests, and inspect leaves, joints, and pot surfaces. Do not apply household oils, detergents, or improvised pesticides to delicate orchid tissues. Seek reliable horticultural guidance for an identified problem and follow legal product instructions where treatment is needed. A clear history helps more than an assumption based on one leaf. Many routine difficulties become easier to understand when light, temperature, moisture, and root condition are assessed together rather than corrected separately at random.
A useful first-week check for a gift orchid
Remove decorative wrapping that prevents inspection or drainage, keeping any support that safely holds the flower spike. Lift the inner pot carefully and check whether water is standing in the outer container. Examine the medium without pulling the root ball apart. Look for a readable plant label and note the date the orchid arrived. Choose a stable bright position with suitable protection from harsh sun and temperature extremes. Do not repot a healthy flowering plant immediately simply because the bark looks different from ordinary potting compost. First establish what it is growing in and how moisture behaves in that arrangement.
During the first few days, check the pot and room conditions rather than watering automatically on a chosen weekday. A recently watered nursery plant may still be moist inside even when the surface looks dry. Conversely, a warm bright room may dry an open bark mix more quickly than expected. Use several clues together, including pot weight and medium condition. Keep water from remaining in the decorative sleeve. If the plant arrived with a dense plug around the roots, obtain reliable advice about managing or replacing that material rather than assuming the visible bark describes the entire root zone.
Keep the initial record simple: position, watering, and any change in buds or leaves. Some adjustment after transport is possible, but persistent decline deserves investigation. Avoid moving the plant repeatedly or applying several products in response to one dropped flower. If you seek help, provide photographs of the whole plant, pot, medium, and visible roots, along with the recent history. A close-up of a yellow leaf alone leaves important questions unanswered. The first week should establish suitable drainage and a calm routine, giving the orchid a place where its growth can be understood over time.
Further reading
Use these independent resources to explore the subject and check guidance for your location.