Mulch: A Small Gap Around the Stem Makes a Difference
Choose, spread and maintain garden mulch while keeping trunks, crowns and emerging plants clear of smothering material.
Updated
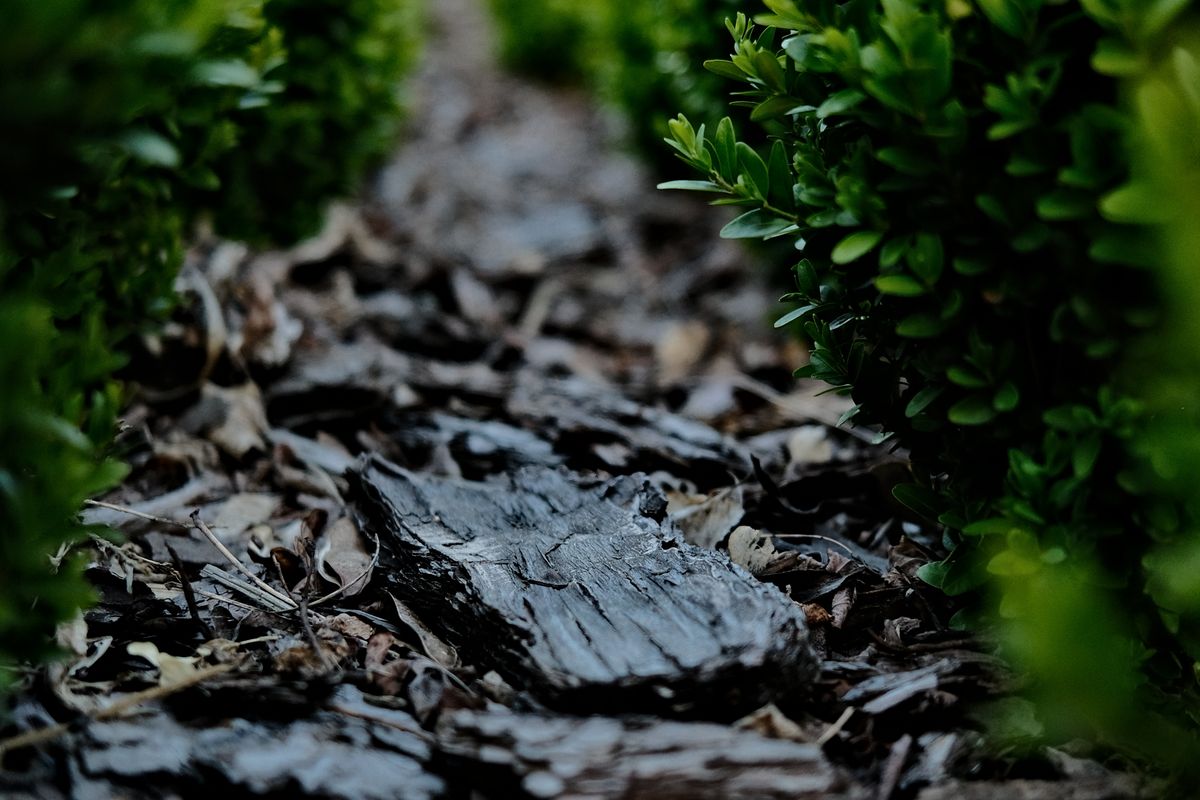
Weed and moisten the soil first, spread a suitable even layer, and keep a clear gap around stems, trunks and vulnerable crowns.
Cover the soil, leave the plant breathing room
Mulch is a layer placed over the soil surface. That simple description matters because many mistakes begin when a useful covering becomes a burial. Roots can benefit from a more stable moisture environment while a stem or crown suffers under material held tightly against it. The aim is to protect exposed soil without changing the plant's planting depth. Keep the base of woody stems visible, leave emerging shoots room to grow and avoid creating a mound around a tree trunk.
Before choosing a material, decide what you want the mulch to do. Reducing evaporation, suppressing small annual weeds, improving soil over time and making a path less muddy are related but different jobs. Fine finished compost suits some planted beds; coarse bark may last longer around established shrubs. A gravel surface has a different effect on appearance, maintenance and soil improvement. Buy for the task rather than assuming that every product labelled mulch behaves the same way.
Inspect the bed before covering it
Remove established weeds, including their roots where practical, before spreading a layer. Mulch can reduce germination and make small seedlings easier to remove, but it does not reliably kill vigorous perennial weeds. Covering bindweed or a creeping grass can hide the shoots until the problem is larger. Work carefully around desirable roots, and seek identification advice for unfamiliar invasive plants before moving soil or fragments to another part of the garden.
Check the moisture below the surface. If the soil is dry, water it adequately before covering it, allowing water to soak into the root zone. A layer over bone-dry soil does not magically supply the missing water. Conversely, if the bed is saturated, wait until conditions improve and investigate drainage. Mulch is not a repair for a planting hole that holds water after every rain. Adding more material can make a wet crown harder to inspect.
Match organic materials to the planting
Well-rotted garden compost and leaf mould break down relatively readily and can contribute organic matter as soil organisms draw them in. Their appearance is subtle, which is useful around perennials where you want the plants to dominate. Coarser bark or wood chips generally persist longer and suit established woody planting or suitable paths. Check the source and avoid treated or contaminated wood. Material from an unknown demolition pile is not a sensible shortcut for a garden bed.
Fresh grass clippings require more care. Thick wet layers can mat, smell and exclude air from the surface. If you use suitable untreated clippings, apply only a thin layer that can dry and avoid contact with stems. Straw can be useful around some crops but may blow around or contain seeds. Hay often carries more weed seed. The locally available material is not automatically the most convenient one once you consider wind, appearance and the plants beneath it.
Understand what gravel will and will not do
Mineral mulches can look attractive in dry-style planting and do not decompose into soil organic matter. They can also become difficult to remove once leaves, fine roots and soil mix through them. Choose the stone size and colour with the site in mind. A pale, reflective surface beside hot paving may change the feel of a sunny corner, while dark material can absorb heat. Neither creates the free-draining root environment a poorly sited drought-tolerant plant needs.
Avoid scattering gravel over a weedy bed and expecting permanent freedom from maintenance. Wind-blown seeds can germinate in debris between stones, and perennial weeds may grow through from beneath. Landscape fabric adds another set of compromises: it can complicate replanting, become exposed and obstruct the gradual incorporation of organic material. It is a separate design choice, not an essential ingredient in every mulched garden. Plan how you will remove leaves and divide plants before installing a lasting surface.
Spread an even layer rather than a decorative mound
Follow guidance appropriate to the material and planting, using a moderate, even depth rather than piling until the soil disappears far below. For many established beds, an organic layer of a few centimetres is useful; very coarse materials and specific settings may call for a different depth. Keep it thinner around small plants, and do not cover low crowns. Measure at several points because a layer that looks uniform from standing height may be surprisingly deep near the front edge.
Around trees, spread across a useful portion of the root area while leaving a clear ring next to the trunk. Do not create the familiar cone of bark pressed against the base. Such mounds can keep bark damp, hide damage and encourage roots to grow in an unsuitable layer. If the trunk flare is already buried, do not excavate aggressively with a spade. A qualified arborist can assess older or valuable trees where the original soil level is uncertain.
Work with the seasons of your own garden
The right moment depends on moisture, soil temperature and the plants' growth. Mulching a moist bed after weeding is usually more useful than following a calendar date regardless of conditions. In a cool spring, a heavy new covering can slow soil warming. Around heat-loving annual crops, you may choose to wait until the soil has warmed and plants are established. In a hot, drying climate, conserving existing moisture may be the more pressing priority.
Do not transfer the month from a gardening article across hemispheres or climates. A rainy winter bed, an irrigated subtropical border and a temperate summer vegetable patch have different constraints. Leave some areas unmulched where appropriate for self-sowing plants or ground-nesting insects. A garden need not have one continuous surface treatment. Small deliberate gaps can serve ecological and horticultural purposes without making the whole planting look unfinished.
Water through the layer and check underneath
After mulching, test how your usual watering method behaves. A light shower may wet only the top of bark or leaves, while the soil beneath remains dry. Direct water toward the root area, applying it slowly enough to soak in. Move the layer aside at a sample point after watering to see whether moisture reached the intended depth. Replace it gently once you have checked. This is more informative than judging from the darkened surface alone.
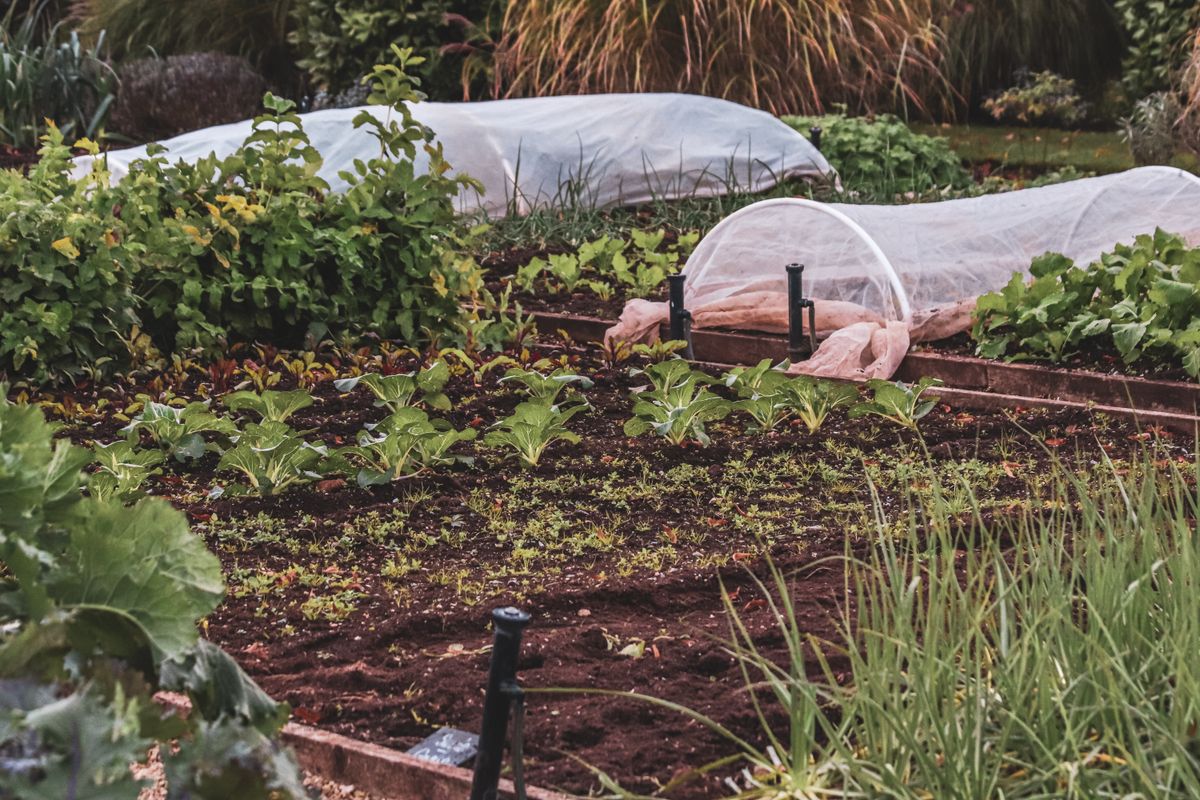
Drip irrigation can work beneath a suitable mulch, but you should still inspect emitters and connections. A blocked outlet is easy to miss when everything is hidden. Mark the line route and avoid piercing it while planting. If water collects on top or runs along the edge of the bed, examine whether the underlying soil is compacted, the layer is matted or the application is too fast. More watering time will not correct every distribution problem.
Keep slugs, stems and seedlings in view
A damp covering can shelter slugs, particularly around vulnerable new growth. That does not mean mulch should be abandoned everywhere. It means you should watch young transplants, avoid thick wet material directly beside them and adapt the immediate area where damage occurs. Inspect after dark if leaves are being eaten and the culprit is unclear. Do not blame every hole on the same animal or apply a treatment without identification.
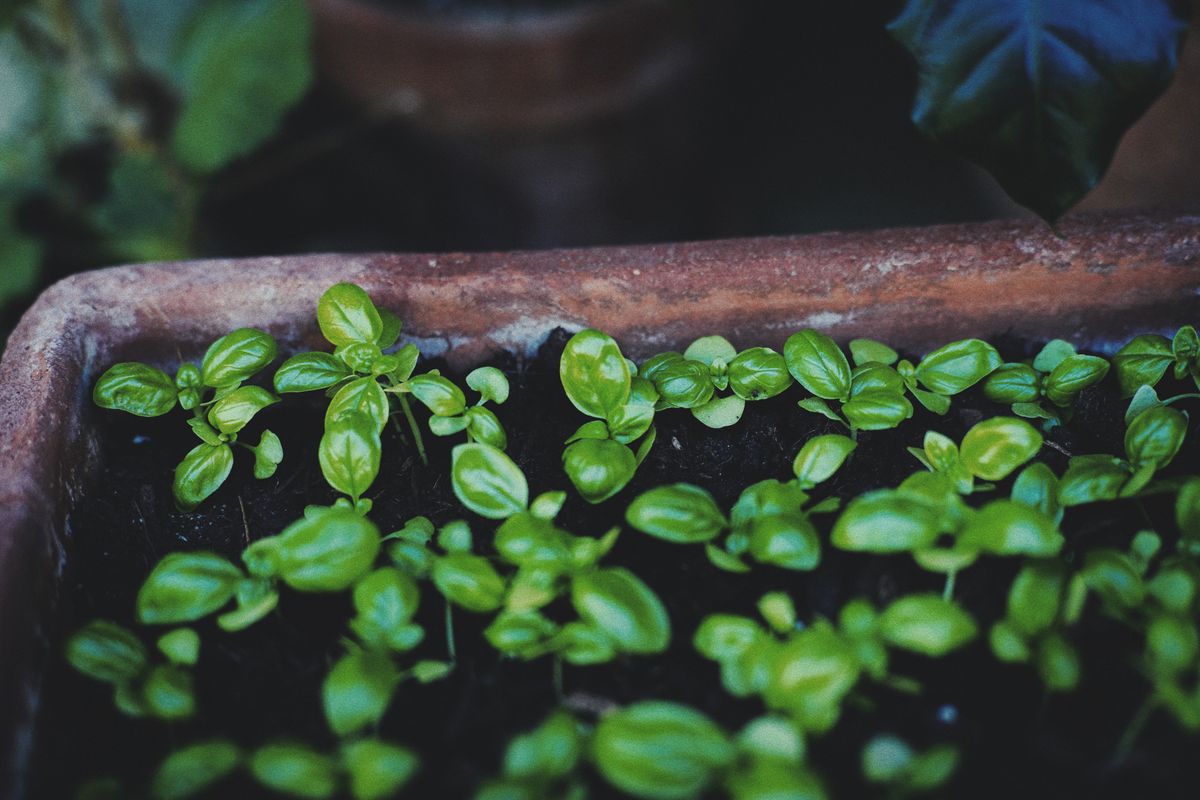
Small self-sown seedlings may struggle to emerge through a dense layer. Decide where you welcome them and leave that patch more open. Similarly, spring bulbs and established perennials can often grow through a suitable covering, but tiny newly planted crowns should not be hidden. Mark dormant plants before spreading material so that you do not mistake their apparent absence for empty ground. A bamboo marker can prevent a much more expensive planting mistake.
Refresh only what has actually diminished
Organic mulch decomposes unevenly. Sunny edges, worm activity and different material sizes can leave one section thin while another still has plenty. Top up the exposed areas rather than adding a full new layer everywhere each year. Before replenishing, check the existing depth around stems and remove material that has migrated into contact with them. Repeated automatic additions can gradually raise the soil surface around shrubs and alter drainage at the bed edge.
Leaves falling onto a mulched shrub bed can often remain if they are healthy and not smothering smaller plants. On paths or where a thick mat covers low foliage, collect or redistribute them. Keep hard surfaces and drain openings clear. A mulch that constantly washes onto a walkway may need a different edging detail or a coarser material, rather than more frequent sweeping. Consider how heavy rain moves through the site before buying the next load.
Calculate the amount and finish the edges
Measure the bed area and multiply it by the intended depth in metres to estimate cubic metres. For example, ten square metres covered to five centimetres needs roughly half a cubic metre before allowing for irregularities. This is a planning calculation, not a reason to force every part of the bed to that depth. Reduce the amount where crowns, trunks and access points need clear space, and check how the supplier describes bag or bulk volumes.
Spread from a board or a path where possible rather than repeatedly walking over wet soil. Use manageable loads and protect established shoots. Finish by checking the base of every plant, the bed edge and the watering access. Over the following weeks, look for stable moisture, easier weeding and healthy new growth. Those outcomes matter more than a perfectly uniform photograph. Good mulching becomes almost invisible because it supports the planting without concealing the parts that need air and attention.
Further reading
Use these independent resources to explore the subject and check guidance for your location.