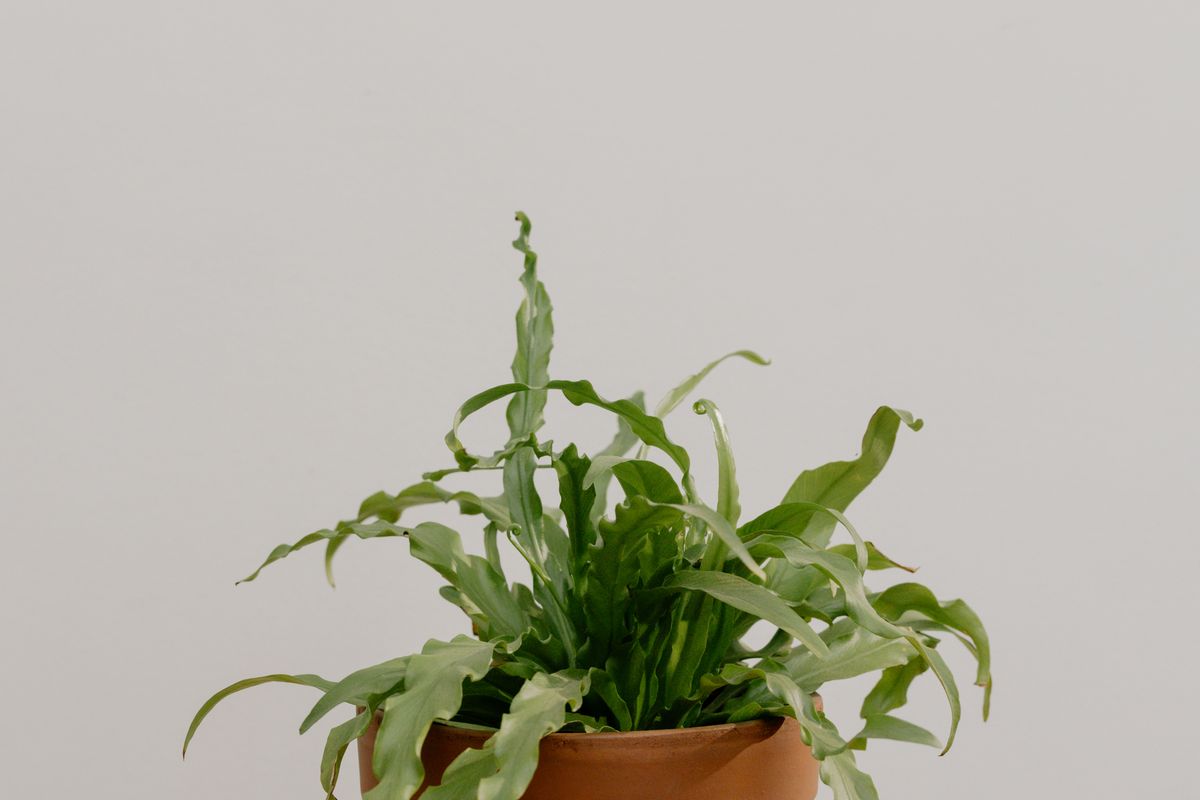
Repotting Without Giving Roots More Space Than They Need
Recognise when roots need more room, choose a suitable pot, and replace growing mix without leaving a small plant in excess wet soil.
Updated
Loosen only the outer circling roots that release easily. Set the plant at its previous depth and settle fresh mix around the sides without compressing it hard.
A bigger pot is a change in water management
Repotting changes more than the appearance of a houseplant. Fresh mix holds water differently, the root ball occupies a smaller proportion of the container, and the distance water must travel through the pot changes. A plant that needed frequent attention in a crowded small pot may dry much more slowly after the move.
That is why a large increase in size can create trouble. A small root system surrounded by a broad ring of damp compost may not use the moisture quickly enough. Choose the new pot around the actual root ball rather than around the size you hope the plant will reach.
Before beginning, decide what problem you are solving. Restricted roots, deteriorated compost, poor water penetration and an unsuitable container are useful reasons. The fact that a decorative pot would look attractive is a reason to change the outer display, but not necessarily to disturb the roots.
Check the plant before assembling the project
Look for evidence that the container is becoming limiting. The plant may dry unusually quickly after thorough watering, roots may fill the sides and base, or water may struggle to penetrate the root ball. These observations together tell you more than one adventurous root emerging from a hole.
A slow-growing plant in poor light can remain the same size without being root-bound. Repotting it does not remove the lighting problem and may leave it wetter. Likewise, yellowing foliage can indicate several problems, so inspect moisture and drainage before assuming roots need additional space.
If possible, slide the root ball out gently while supporting the plant. Do not tug by leaves or use a thin stem as a handle. A root-filled container may release more easily after squeezing a flexible pot or loosening the edge carefully.
Prepare a pot that fits
Choose a container with drainage holes and enough room for a modest layer of fresh mix around the root ball. Compare the pot and root ball directly before filling anything. Shape matters: a very deep narrow pot and a shallow broad one can behave differently even when their stated volume is similar.
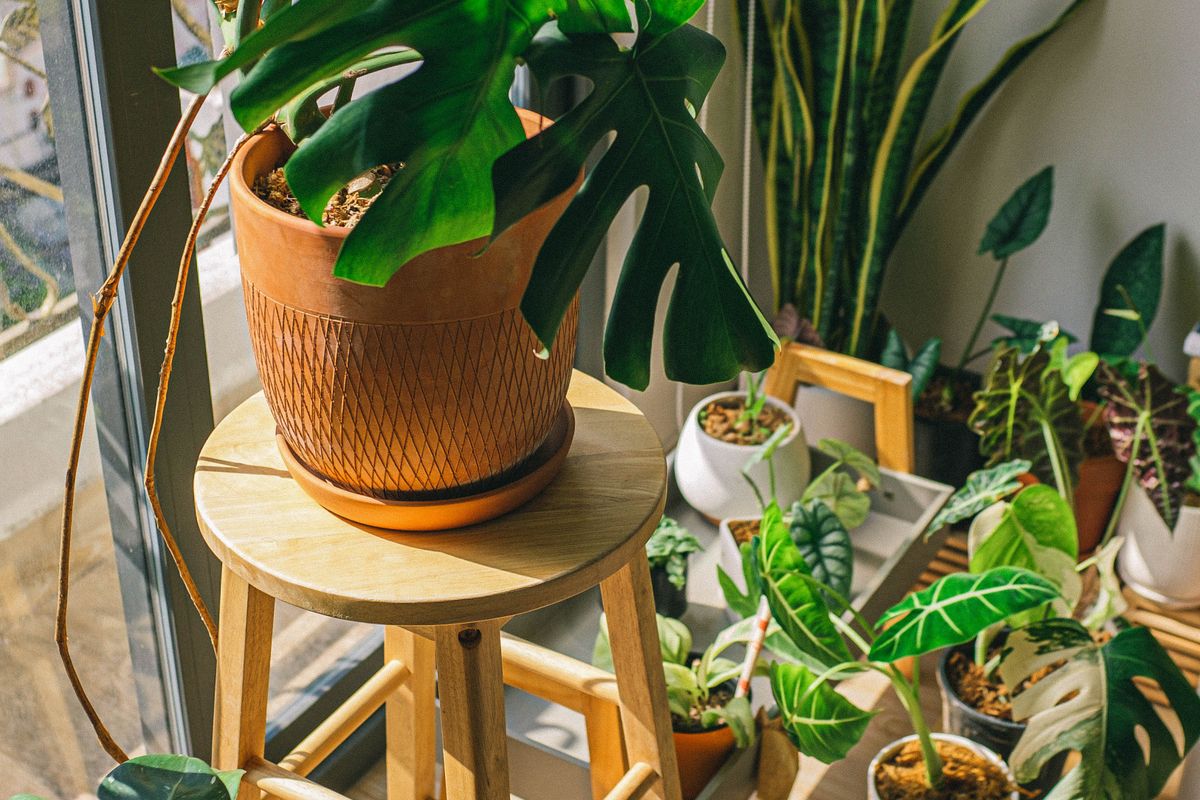
An inner nursery pot inside a decorative outer pot often gives the best combination of drainage and appearance. Leave enough clearance to lift it for inspection and empty runoff. A tightly wedged inner pot makes routine care more difficult and can hide water at the base.
Do not rely on stones in the bottom of a sealed pot to provide drainage. Excess water still has nowhere to leave. Use a container arrangement that lets you water properly and inspect the result rather than depending on a precise small dose every time.
Choose mix for the species
Ordinary foliage plants, orchids and succulents do not all need the same root environment. Select a suitable fresh mix with a texture that supports the species and your growing conditions. An orchid accustomed to airy bark should not be packed into dense ordinary compost because it happens to be available.
Peat-free mixes also vary in their ingredients and watering behavior. Read the product information and feel the material. A mix that looks dry on top can remain moist below, while a very coarse mix may drain rapidly. You will need to learn its behavior after the move.
Avoid using garden soil as an easy substitute in an indoor pot. It may compact, drain poorly and introduce unwanted organisms. Keep the mix in clean storage and close the bag after use so debris and pests do not enter.
Release roots without dismantling everything
Once the root ball is out, inspect its general condition. Healthy roots vary in color by species and growing medium, so color alone is not a diagnosis. Firmness, smell and the pattern of growth help distinguish healthy tissue from soft decaying areas.
Loosen outer circling roots only as much as they release comfortably. There is no need to wash away every particle of old mix from a healthy plant or comb every root straight. Excessive handling can break fine roots that the plant needs for water uptake.
If you discover substantial rot, the job has changed from routine repotting to recovery. Use clean tools, remove clearly decayed tissue and seek species-specific guidance where needed. A large pot of fresh wet mix is not a cure for a reduced damaged root system.
Keep the previous planting depth
Place enough mix in the base to set the root ball at a suitable height. The crown or stem base should remain at its previous level, with room below the rim for watering. Check the height before filling the sides; correcting it later often means disturbing the roots again.
Add fresh mix around the root ball in small amounts and settle it gently. Avoid pressing so hard that you remove the air spaces the mix is intended to provide. Large hidden gaps are undesirable, but the answer is careful filling rather than forceful compaction.
For a tall plant, position a suitable support while you can see where roots lie. Secure the main stem with loose soft ties as appropriate. Do not bury the stem deeper simply to make the plant stand upright; use a stable pot and support instead.
The first watering is also a drainage check
Water according to the species, the condition of the root ball and any specific recovery work performed. For an ordinary healthy foliage plant, a careful watering helps settle fresh mix and reveals whether water exits freely. Empty the saucer or outer pot afterwards.
Check the original root ball as well as the surrounding fresh material. They can absorb and release water differently. Runoff appearing quickly does not necessarily prove that a dry old core has rehydrated. Apply water gently and watch where it goes.
Protect the working area from delayed drips. A container may continue draining after it is returned to its shelf. Lift it once more to inspect the base rather than allowing a hidden pool to remain underneath for days.
Do less during the settling period
Return the plant to appropriate stable light and temperature. A newly repotted plant does not need a simultaneous move into hot direct sun, a strong fertilizer dose and heavy pruning. Each additional change makes the response more difficult to interpret.
A short pause in growth can occur while roots adjust. Existing leaf damage will remain, so watch for fresh deterioration and later new growth. If the plant becomes increasingly limp while the mix stays wet, inspect drainage and root health rather than repeatedly adding water.
Fresh mixes may already contain nutrients. Check the product information before feeding. More fertilizer does not accelerate every recovery and can add stress when roots have been disturbed. Resume a suitable routine when the plant’s condition and growth justify it.
Learn the new drying pattern
Check moisture more often for the first few watering decisions. This is a period of observation, not a reason to water more frequently. The new container may stay damp much longer than the old one, particularly when the increase in compost volume is substantial.
Pot material influences drying too. Terracotta can lose moisture through its sides, while glazed ceramic and plastic generally behave differently. A heavy outer pot can disguise changes in the inner pot’s weight, so lift the inner container when practical.
Record the repotting date, mix and pot size. If the plant develops a problem later, those details help connect symptoms with a change in root conditions. They also stop you from repeating a pot increase unnecessarily because the last one has faded from memory.
When leaving the plant alone is the better choice
A healthy plant that absorbs water normally, dries predictably and has adequate root space may not need repotting just because another year has passed. Some species tolerate close roots well, and disturbance is not automatically beneficial. Inspect first and let the evidence decide.
If you want a new appearance, change the decorative outer pot, clean the foliage or adjust the stand. Keep drainage accessible and ensure the new arrangement remains stable. These changes can refresh a room without changing the root environment.
For very large specimens, routine root disturbance may be impractical. Seek appropriate guidance on refreshing surface mix and managing long-term containers. Do not attempt to lift a heavy plant alone or improvise a precarious working position simply to meet an arbitrary repotting schedule.
Two root zones in one container
After repotting, the old root ball and the surrounding fresh mix may behave like separate materials. An old peat-based core can be difficult to rewet after severe drying, while the fresh ring remains visibly damp. The reverse can also occur when a dense old core stays wet beneath a drier coarse surface.
Check both areas during the first few watering decisions. Insert a probe gently where you can compare them without repeatedly damaging roots. If water is bypassing the old root ball, apply it more slowly and allow absorption rather than repeatedly flooding the whole pot.
This is another reason to avoid an unnecessarily large size increase. A broad volume of fresh wet compost makes it harder to read the plant’s immediate root environment. The pot should provide useful growing room without creating a separate reservoir the roots cannot yet use.
Keep the work area safe
Wear gloves where sap or leaf edges can irritate, and keep cut roots and leaves away from pets and children. Clean tools between plants, especially if you found decayed tissue. Dispose of doubtful diseased material through a suitable local route rather than adding it casually to indoor pots or an unreliable cool compost heap.
Further reading
Use these independent resources to explore the subject and check guidance for your location.